Let's dive in!
Step 1: Prepare the Materials: Zipper, fabric, Sewing Needle and thread or a Sewing machine, Scissors, Pen
First off, ensure you have your zipper ready. It doesn't need to span the entire length, as it only requires enough to open partway. Measure the appropriate length for your bag, keeping in mind the size of your fanny pack.
Step 2: Trace the Lining
Place your bag on the lining fabric and use a pencil to trace around it, leaving about half an inch for sewing allowance. Be mindful of any adjustments needed for size differences between your bag and the traced outline.
Step 3: Fold and Cut
Fold the lining fabric in half, ensuring symmetry, and cut along the traced outline, starting from one corner to the other. This will create two identical halves for your lining.
Step 4: Secure the Sides
Fold each half of the lining from the cut towards the middle, ensuring symmetry. Use a pencil or pin to trace along half of the previously traced line, ensuring accuracy and consistency between both halves.
Step 5: Centering the Zipper
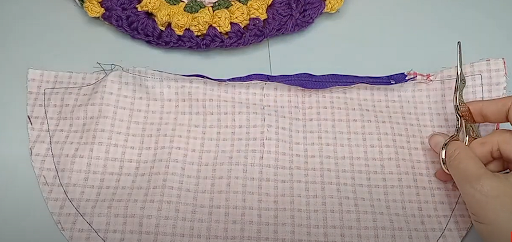
Fold your lining in half to find the center point. Mark this point with a pin or pencil. Similarly, mark the center points on both ends of your zipper. Align the center points of the lining and the zipper, ensuring they match up.
Step 6: Pinning the Zipper
With the zipper facing downwards, align the center points of the zipper with those of the lining. Pin them together along the edges to secure them in place.
Step 7: Sewing the Zipper
Using a needle and thread or a sewing machine, stitch the zipper to the lining along the pinned edges. Ensure that the zipper is securely attached, and the stitches are neat and tidy.
Step 8: Sewing
-by Hand
Thread your needle with and make a knot at the end. Beginning about a quarter of an inch from the edge, start sewing along the traced line using backstitches. Repeat this process until you've sewn around the entire outline.
-with a Machine
Alternatively, if you have access to a sewing machine, you can use it for quicker and more precise stitching. Follow the traced lines, ensuring to maintain consistent seam allowances.
Step 9: Finishing Touches
Once the zipper is attached, fold the lining back into shape, ensuring the zipper operates smoothly. Trim any excess threads, and your lining is now ready to be inserted into the fanny pack.
Step 10: Final Adjustments
Check the fit of the lining within the fanny pack, ensuring it sits neatly and doesn't obstruct the zipper. Make any necessary adjustments or trimmings to achieve the desired fit.
Step 11: Securing the Strap
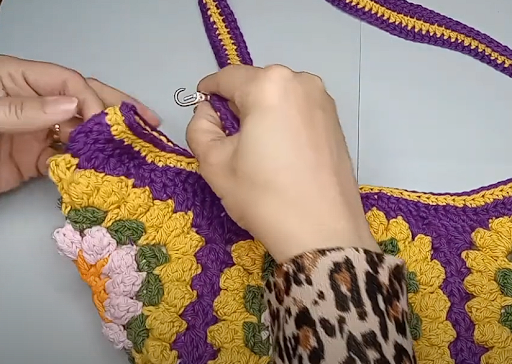
If desired, you can now attach a strap to your fanny pack for easy carrying. This can be done using fabric scraps or purchased straps, depending on your preference.
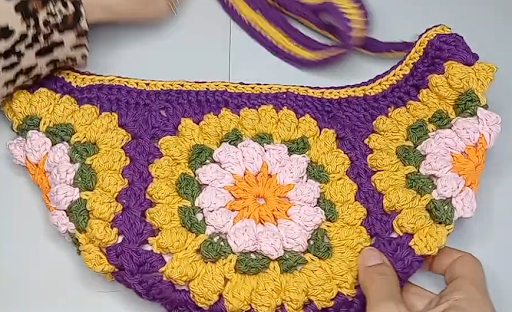
And there you have it! With the lining sewn and attached, your fanny pack is now complete and ready for use. Feel free to experiment with different fabrics and designs to personalize your creation further. Thanks for watching, and happy crafting!


No comments:
Post a Comment